It is not required; however, it is HIGHLY recommended to install the MainWP Dashboard to a clean WordPress installation and not on one of your operating sites. This helps to eliminate any unnecessary plugin conflicts.
Thank You For Downloading MainWP
Download will start automatically… If it doesn’t, click here to download MainWP Dashboard.
Get MainWP Dashboard!
Download the MainWP Dashboard Plugin from WordPress.org and install it on a new WordPress site or sub-domain.
Download PluginGet the MainWP Child!
Download the MainWP Child Plugin from WordPress.org and install it on your existing WordPress sites.
Download PluginConnect WordPress Sites!
Connect your new MainWP Dashboard (step 1) to your existing WordPress sites (step 2) and start managing your sites.
CONNECT SitesFor the proper use of the MainWP WordPress management system, it is required to Install & Activate the MainWP Dashboard plugin on a WordPress site (called Dashboard Site) that is going to be used for controlling all other WordPress websites.
After that, you need to Install & Activate the MainWP Child plugin on all your WordPress sites (called Child Sites) that you want to control directly from your Dashboard Site. This acts as a bridge to communicate with the Dashboard site.
Install MainWP Dashboard

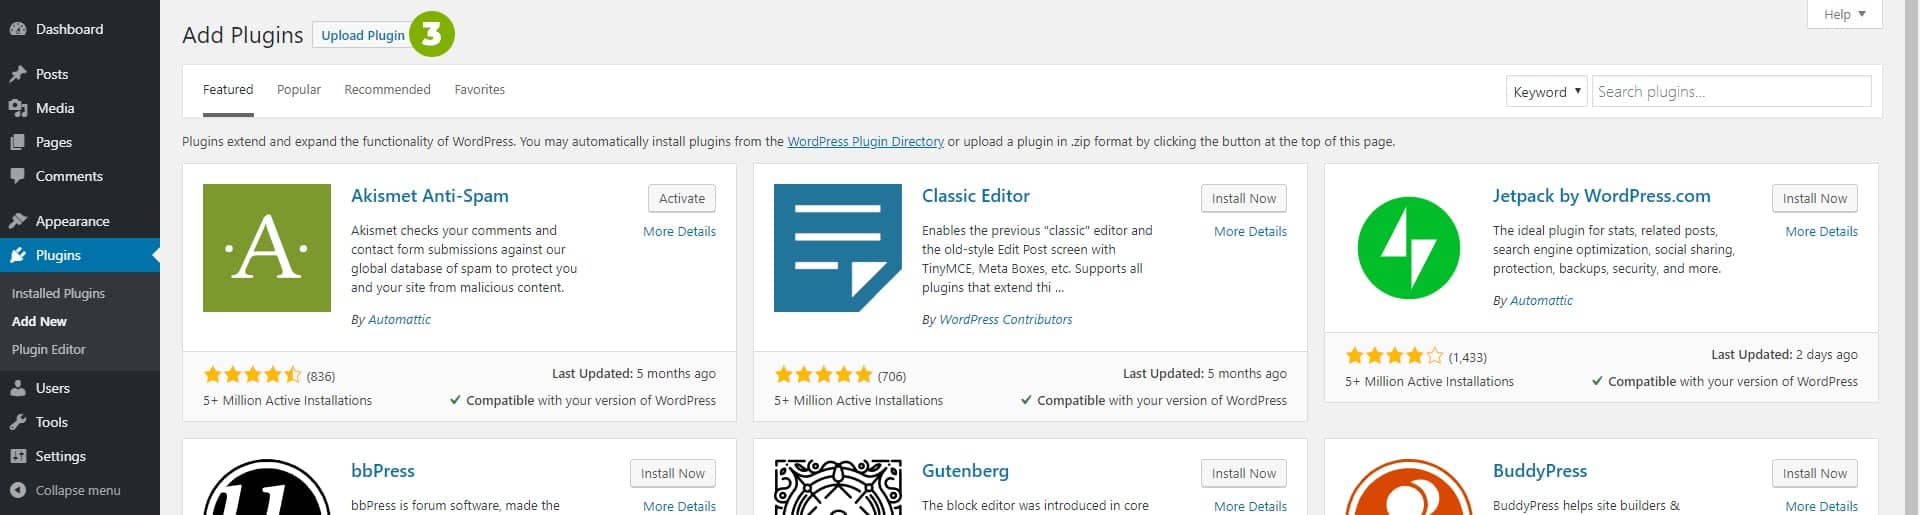

1. Go to the WP > Plugins page on your WordPress site that is dedicated to running your MainWP Dashboard
2. Click Add New, and search for “MainWP Dashboard”, install and activate the plugin
3. Or, download MainWP Dashboard and click the Upload Plugin button to upload the downloaded file
4. Click Choose File button, select the mainwp.zip file and click the Install Now button
5. Once the plugin is uploaded, click the Activate button to activate it
Quick Setup Wizard

Step 1: Introduction
Enable Demo Mode with Guided Tours to get Sample Data and get a sneak peek at how MainWP works, or start MainWP Quick Setup Wizard.

Step 2: System
Make sure all system requirements are passed. If any of the system requirements fail to pass, please see this help document before you proceed to the next step.
Click the Continue button

Step 3: Connect First Site
To connect your first Child Site to your MainWP Dashboard, make sure the MainWP Child plugin is installed on the Child Site and then fill in the required fields.
Click the Connect Site button

Step 4: Add Client
Here, you can add your client information, or simply click Continue to skip this step.
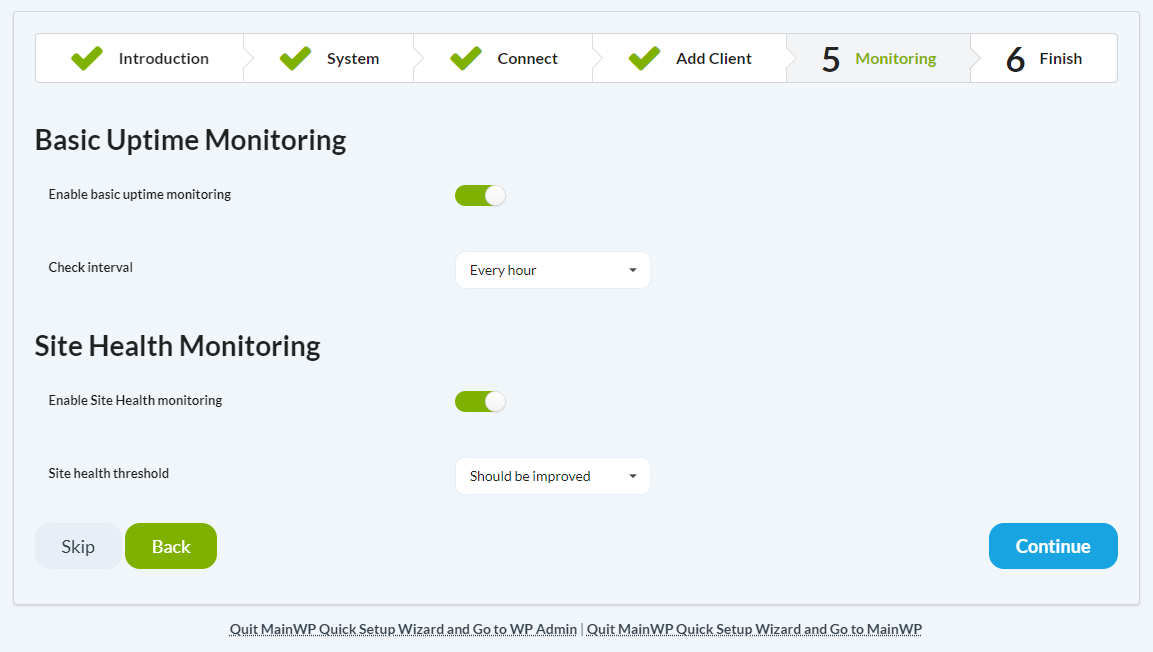
Step 5: Monitoring
If you want to use the Basic Uptime and Health monitoring features to check your sites, here you can enable it and set how often to check.
Step 6: Finish
Congratulations! Your MainWP Dashboard is Ready!
Now you can start managing your WordPress sites with ease.
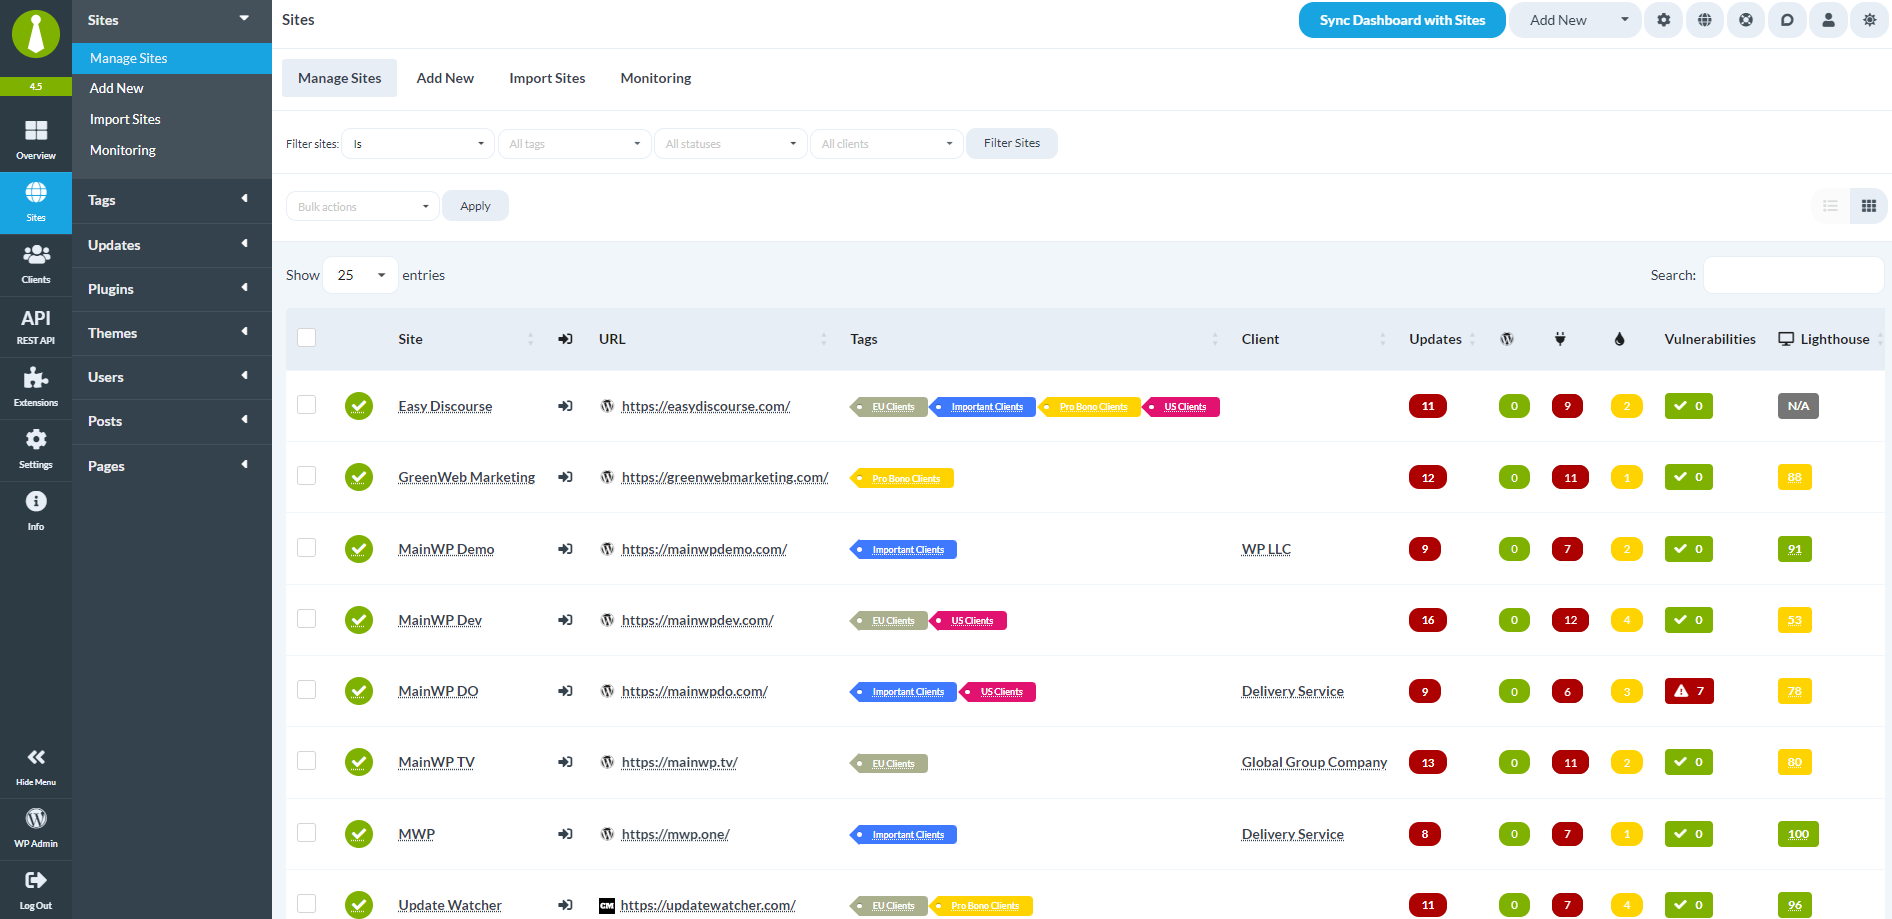
Visit the Site Overview
Go to the Sites > Manage Sites page to start adding more Child Sites to quickly manage them from the MainWP Dashboard.
Set up MainWP Locally
For better security and privacy, you can even install the “MainWP Dashboard” plugin on a locally hosted WordPress site using WAMP or any other suitable setup that allows you to run WordPress locally.
